Organising the bathroom and kitchen might make end of tenancy cleaning seem like a huge task. Because they’re often utilised and prone to accumulating dirt and grime, these places frequently require a little more effort. It need not be overpowering, though, so don’t worry. You can easily handle these areas if you are a little more organised and know some useful strategies.
In order to make sure you leave your kitchen and bathroom immaculate and prepared for the next set of tenants, we’re here to share some practical tips and methods. We will cover every necessary step, from cleaning the oven to sanitising surfaces. So put on your cleaning gloves and let’s get started!
1. Gather your cleaning supplies
Getting all of your materials ready is a good idea before you begin cleaning. Preparing things in advance will save you time and ensure that the procedure goes more smoothly. Consider what you might need for various activities, such as mopping and cleaning.
If you have everything you need close at hand, you won’t have to stop midway to find a cloth or cleaner. Thus, if you spend a minute to be ready, you’ll discover that cleaning goes a lot more smoothly and possibly even more pleasurably!
2. Start with decluttering
Start by decluttering the bathroom and kitchen areas. Take a moment to take out all of your personal belongings, including kitchenware and toiletries. Additionally, it’s a good idea to look through and discard any old or expired items. Cleaning every surface thoroughly will be lot simpler when the clutter has been removed.
Keeping the remaining items properly arranged will also assist you in making sure you don’t overlook any areas when cleaning. Plus, decluttering can be quite satisfying and gives you a clear view of what needs attention. So, let’s get things tidy and organised first – it’ll make the cleaning job much simpler and more enjoyable!
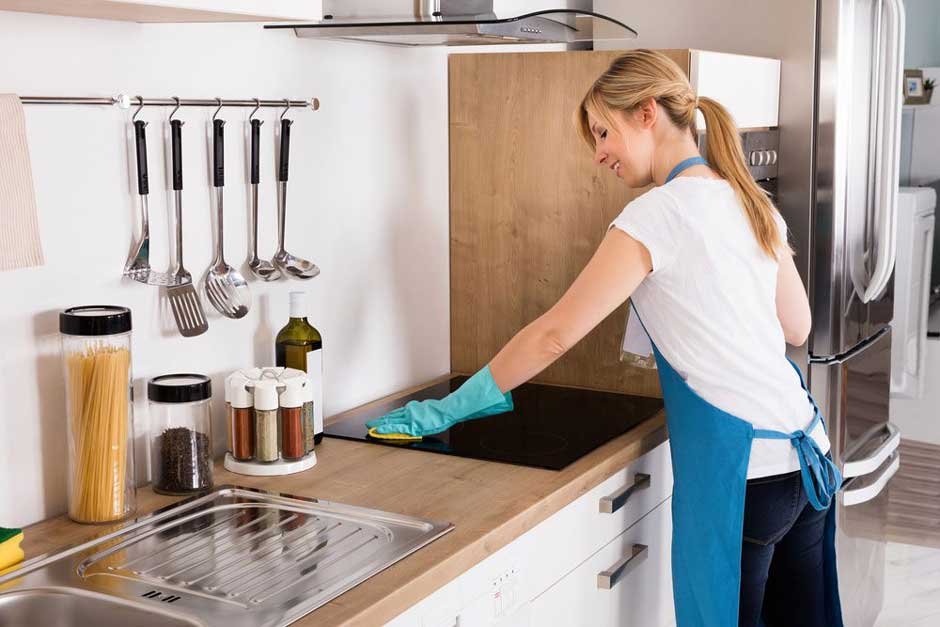
3. Clean surfaces thoroughly
Let’s now concentrate on cleaning those surfaces, including sinks, cupboards, and countertops. To begin, take up a mild detergent or all-purpose cleaner and use it on the grime, grease, and stains. Particular attention should be paid to areas where dirt likes to hide, such as the areas surrounding faucets, handles, and any small cracks.
Don’t panic if you encounter any difficult buildup or stains that won’t go away. You can buy professional cleaning products or even make a natural cleaning solution by mixing vinegar and baking soda; both work incredibly well! Your kitchen and bathroom will look much cleaner and more fresh if you take your time in these areas.
4. Don’t forget the appliances
In the kitchen, be sure to thoroughly clean the gadgets. Using a moist cloth and a little soap, begin by cleaning the outside of the appliances. The impact of a spotlessly clean surface is astounding!
Tackle the inside of these appliances. Clear away any food residue or spills, then thoroughly clean everything down to disinfect the surfaces. Remember to give the refrigerator and freezer sections extra attention. Verify that they have defrosted and are odour-free.
It’s important to give your appliances a thorough cleaning so that when the new owners move in, they look fantastic and are in excellent operating order.
5. Scrub the bathroom tiles and grout
While bathroom grout and tiles may eventually become dull, there’s hope! You can restore them to their original splendour with a little elbow grease. If the dirt and stains are very tough, start by using a tile and grout cleaner or combining baking soda and water. It’s surprising how much dirt can hide in those crevices and crannies, so be sure to thoroughly go into them with an old toothbrush or grout brush!
Following a thorough cleaning, use water to rinse away any remaining residue. In order to avoid water stains, use a fresh cloth and wipe everything down. How much fresher your bathroom will feel after cleaning the grout and tiles thoroughly may amaze you.
6. Disinfect high-touch surfaces
Giving the bathroom and kitchen surfaces a thorough cleaning is crucial to ensuring that we eradicate those naughty bacteria and germs, especially those that we contact frequently. Consider all the areas, such as light switches and door knobs, where you frequently place your hands. They may actually serve as actual germ breeding grounds!
Take some wipes or disinfectant spray and give these places a thorough cleaning. Ensure that you give the areas that are touched the most attention. In this manner, you can be certain that you’re eliminating any potential pathogens and maintaining a clean, comfortable house for all.
7. Polish fixtures and hardware
Let’s give the kitchen and bathroom hardware and fixtures a little treatment to restore their lustre! To begin, apply a light cleaning or metal polish; they effectively remove stubborn water stains, fingerprints, and tarnish from faucets, handles, knobs, and showerheads.
Use a gentle cloth to give everything a thorough buff after applying the cleanser or polish. How soon those surfaces begin to shine again will astound you! This will not only make your fixtures look amazing, but it will also give your kitchen and bathroom as a whole a clean, modern vibe.
8. Finish with floors and windows
Let’s remember to give those floors and windows some much-needed attention before we wrap up our cleaning marathon. Thoroughly clean the hardwood floors with a mop and floor cleanser. Particular attention should be given to any stains or grime that refuses to go away, especially in places like the bathroom where water frequently collects around the bathtub and toilet.
It’s time to add some sparkle to the windows and mirrors! Get some glass cleaner or create a homemade solution by combining vinegar and water; both work incredibly well! To guarantee streak-free results, give them a thorough wipe-down before allowing an abundance of natural light to fill your room. Your home’s feeling of freshness and invitingness can be greatly enhanced by giving the floors and windows a little extra shine. Now let’s make those windows sparkle and those floors shine!
Conclusion
Completing your kitchen and bathroom end of tenancy cleaning doesn’t have to be a struggle – with the appropriate strategy and methods, it can be a breeze! You’ll be astounded at how spotless and new these important places will appear for the incoming tenants if you follow these helpful pointers and put in the necessary work.
Making the effort to complete the task not only guarantees the return of your security deposit but also creates a favourable impression on your landlord or property manager. Who wouldn’t love to walk into a kitchen and bathroom that is immaculate? Now let’s get these rooms shining like diamonds—roll up your sleeves, turn on your favourite cleaning playlist, and go to work.