
Your mailbox often creates the first impression visitors have of your home, yet many homeowners don’t realize how much proper installation and placement actually matter.
Understanding Why Mailbox Installation Matters
Getting it right goes far beyond looks—whether you choose traditional wooden posts, metal pipes, or modern mail box stands, the way you install your mailbox affects mail delivery, home security, and neighborhood safety. This comprehensive guide walks you through everything you need to know about materials, placement, and installation methods that meet postal regulations while enhancing your property’s appeal.
Getting your mailbox installation right serves several important purposes that extend well beyond curb appeal. Safety tops the list of concerns—poorly installed or overly rigid mailbox posts can become dangerous projectiles during vehicle accidents, potentially causing serious injury or property damage. When you follow proper installation techniques, you’re also protecting your investment by preventing water damage, rust, and premature deterioration.
Mail carriers appreciate correctly positioned mailboxes because they can access them safely and efficiently, which translates to more reliable service for you. Perhaps most importantly, both the USPS and local authorities have established specific requirements that aren’t optional—they’re mandatory.
These regulations cover several key areas. Your mailbox must sit between 6 and 8 inches from the road’s edge, with the bottom positioned 41 to 45 inches above ground level. Posts shouldn’t extend more than 24 inches into the ground, and here’s something many people don’t know: the Federal Highway Administration actually requires materials that will yield or bend if struck by a vehicle. This means using 4-by-4-inch wooden posts or 2-inch steel or aluminum pipes rather than rigid concrete or brick structures.
Choosing the Right Materials for Your Mailbox Post
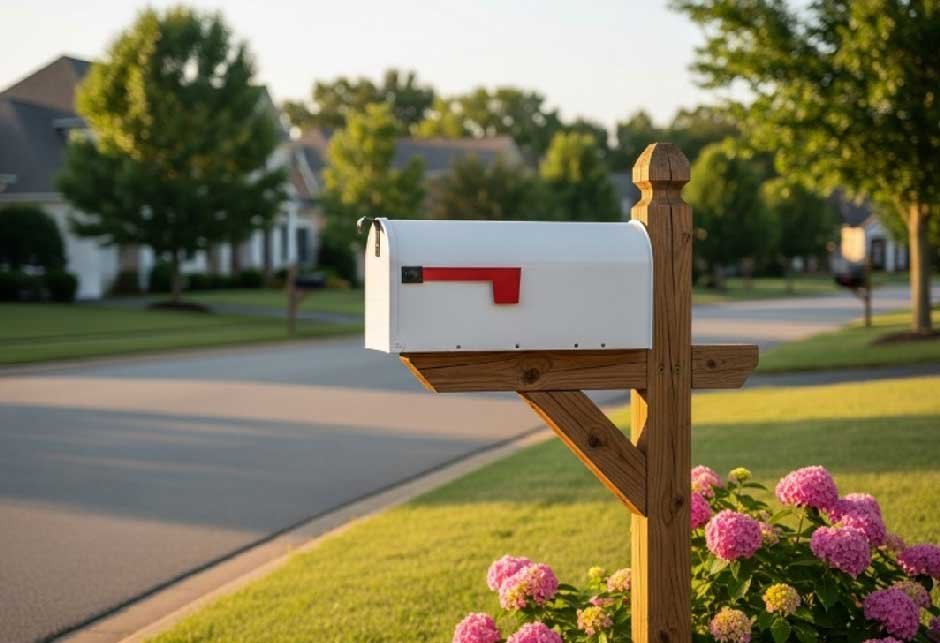
The materials you select will determine both how safe your installation is and how long it lasts. Pressure-treated 4-by-4-inch wooden posts remain popular for good reason—they resist weather damage naturally and bend safely when hit by vehicles, significantly reducing the risk of serious accidents. The trade-off is that wood requires occasional maintenance and regular checks for signs of rot or insect damage.
Metal posts offer a different set of advantages. Aluminum stands out for its corrosion resistance and light weight, making it easier to handle during installation. Steel provides exceptional durability but needs proper rust prevention treatment to maintain its longevity. Both materials meet federal safety standards by bending rather than remaining rigid during impacts.
Whatever you do, steer clear of concrete pillars, brick structures, or other rigid materials. These create serious hazards during vehicle collisions because they don’t absorb impact energy—instead, they can cause devastating damage to vehicles and severe injuries to occupants.
Essential Pre-Installation Planning
Before you pick up a shovel, make that crucial call to 811 to locate underground utilities. This isn’t just a good idea—it’s absolutely essential for avoiding potentially dangerous and expensive accidents. Gas lines, electrical cables, and other buried infrastructure could be anywhere, and hitting them can result in serious injury, service disruptions, and hefty repair bills. Get written confirmation of utility locations and keep those records handy.
Location selection requires some strategic thinking. Look at where your neighbors have placed their mailboxes and try to maintain consistency by installing yours on the same side of the road. Make sure mail carriers can reach your box easily from their vehicle without having to navigate around obstacles like parked cars or landscaping. If you live on a corner lot, don’t guess about placement—contact your local postmaster for specific guidance on the best location.
Walking Through the Installation Process
Start by digging a hole that’s 18 to 24 inches deep and roughly 10 inches in diameter. In regions where winter temperatures drop below freezing, dig below the frost line to prevent your post from shifting during freeze-thaw cycles—this extra effort now saves you from having to redo the job later.
Create a proper foundation by adding about 6 inches of gravel to the bottom of the hole. This drainage layer prevents water from pooling around your post, which could lead to rot in wooden posts or accelerated corrosion in metal ones. Set your post in the hole and use a level to ensure it’s perfectly vertical from all angles—take your time with this step because adjustments become much harder once you add concrete.
The concrete method provides the most reliable long-term stability. Mix quick-setting concrete according to the manufacturer’s instructions and pour it around the post, filling to about 2 inches below ground level. Gently tap the post to eliminate air bubbles, then double-check that it’s still level. Resist the temptation to rush this stage—let the concrete cure for a full 24 hours before mounting your mailbox.
When you’re ready to attach the mailbox, verify that its bottom sits within that critical 41 to 45-inch height range. Use the hardware provided by the manufacturer—typically screws or lag bolts—to secure the mailbox firmly to the post. Test the door to make sure it opens and closes smoothly without hitting any obstructions.
Handling Special Situations and Ongoing Care
Corner properties present unique challenges that require professional input. Your local postmaster can provide specific recommendations based on traffic patterns, visibility concerns, and the primary mail delivery route. Don’t assume what works for a mid-block location will work for a corner—the rules often differ.
Small touches can significantly boost your home’s curb appeal. Add 1-inch-tall numbers to the side of your mailbox for clear address identification, consider applying weather-resistant paint that complements your home’s exterior colors, and create attractive landscaping around the base while keeping the access path clear for mail carriers.
Regular maintenance keeps your installation looking good and functioning properly. Inspect wooden posts periodically for signs of rot, decay, or insect damage. Check metal posts for rust spots that need attention. Monitor the concrete around your post for cracks or settling that might indicate the need for repairs. Keep your mailbox clean and remove any debris that might interfere with mail delivery.
Wrapping Up
A properly installed mailbox represents the perfect marriage of function and form. When you understand the regulatory requirements, choose appropriate materials, and follow proven installation techniques, you create something that serves your family reliably while enhancing your property’s street appeal. Whether you’re replacing a weathered old post or installing your first mailbox, paying attention to these details ensures you’ll enjoy years of trouble-free service while contributing to your neighborhood’s overall appearance and safety.