
Portrait drawing is a mesmerizing form of art that has been practiced for centuries. Artists throughout history have used portraits to capture the essence of individuals, their emotions, and their unique characteristics. Whether you’re interested in creating lifelike portraits or exploring a more abstract style, portrait drawing offers endless possibilities for self-expression and creativity.
Gathering Your Art Supplies
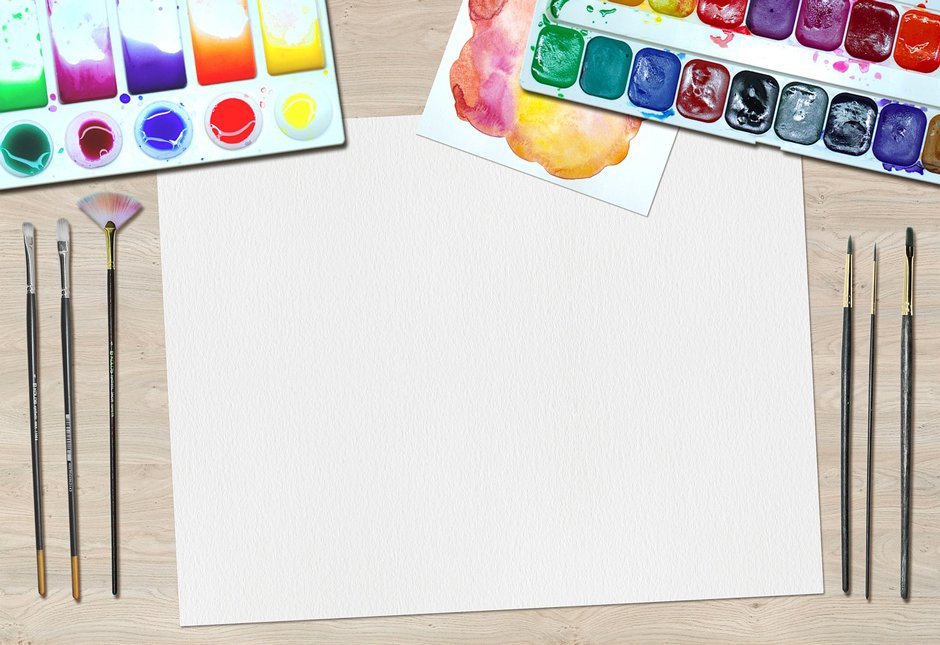
When you embark on your portrait drawing journey, it’s essential to equip yourself with the right tools. High-quality drawing pencils in various grades, ranging from 2B to 6B, provide the necessary range for achieving different levels of shading and texture. Additionally, invest in quality erasers to correct mistakes without damaging your paper, and choose appropriate paper or sketchbooks designed for pencil work. A comfortable, well-lit workspace with good ventilation will enhance your drawing experience.
Choosing the Right Reference Photo
Selecting the ideal reference photo is paramount to creating a successful portrait. Look for photographs that are clear, well-lit, and showcase the subject’s features prominently. Ideally, the subject should be facing the camera directly, but you can also experiment with different angles for more dynamic compositions. A high-resolution image will enable you to capture even the tiniest details with precision.
Sketching the Basic Shapes
To start your portrait drawing, begin with a rough sketch of the basic shapes that make up the face. Use light, loose lines to outline the overall structure, including the head’s shape and the position of the eyes, nose, and mouth. This initial sketch serves as a guide to ensure proper proportions in your final drawing.
Proportions and Measurements
Accurate proportions are essential in portrait drawing. A helpful technique to ensure correct positioning is the “Rule of Thirds”. Divide the face into three equal horizontal sections: the hairline to the eyebrows, the eyebrows extending to the bottom of the nose, and the nose to the tip of the chin.
Adding Details: Eyes, Nose, and Mouth
Spend ample time studying your reference photo to capture the unique characteristics of these features. Pay attention to the shape of the eyes, the contour of the nose, and the nuances of the lips. When drawing eyes, pay meticulous attention to the intricate details of the iris and pupil to capture the subject’s soulful gaze.
Capturing Facial Expressions
A successful portrait not only depicts physical features but also conveys emotions and expressions. Observe the subject’s face closely and study the subtle variations in expressions, such as smiles, frowns, or raised eyebrows. These nuanced details breathe life into your artwork and make it more relatable to viewers.
Working on Hair and Textures
Hair and textures add depth and realism to your portrait. Observe the direction in which hair strands flow and use your pencils to create the desired texture and volume. Be patient and deliberate in your approach, as hair can be a challenging aspect of portrait drawing.
Shading and Highlights
Shading is a fundamental aspect of portrait drawing. It involves using varying pencil pressures to create different tones and shadows. Experiment with hatching, cross-hatching, and blending techniques to achieve the desired effects. Remember to add highlights strategically to give your portrait a three-dimensional quality.
Creating Realistic Skin Tones
Achieving realistic skin tones is a crucial step in portrait drawing. Blend different shades of a pencil to capture the subtleties of the subject’s skin. Pay attention to areas with shadows and highlights, as these elements contribute to the overall realism of the portrait.
Practice Makes Perfect
As with any skill, practice is key to improving your portrait drawing abilities. Dedicate time to regular practice sessions, and don’t be discouraged by initial setbacks. With each drawing, you’ll gain valuable experience and refine your techniques.
Final Thoughts
In conclusion, portrait drawing for beginners is a fascinating journey that offers boundless opportunities for self-expression and artistic growth. Armed with the right tools, techniques, and a passion for creativity, you can embark on a fulfilling path of capturing the essence of individuals through your artwork.
FAQs (Frequently Asked Questions)
- How long does it take to become proficient in portrait drawing?
The time it takes to become proficient in portrait drawing varies from person to person. However, mastery is an ongoing journey that continues to evolve over time.
- What are the best pencils for portrait drawing?
The best pencils for portrait drawing typically include a range of grades, such as 2B, 4B, and 6B. These pencils allow you to achieve various shading and texture effects in your drawings.
- Can I use a photo as a reference for my portrait drawing?
Yes, using a clear and well-lit photo as a reference is a common practice among artists, especially for beginners. It provides a stable and consistent source of inspiration, allowing you to focus on your drawing techniques.
- Are there online tutorials available for portrait drawing?
Yes, there is a wealth of online tutorials and courses dedicated to portrait drawing. These resources offer step-by-step guidance, tips, and techniques to help you improve your skills and gain confidence as an artist. Explore different platforms and find tutorials that resonate with your learning style.
- How can I add color to my portrait drawings?
Adding color to your portrait drawings can introduce a new dimension to your artwork. You can experiment with colored pencils, pastels, watercolors, or digital coloring techniques. Each medium offers unique opportunities for creative expression, allowing you to infuse your portraits with vibrant and lifelike hues.