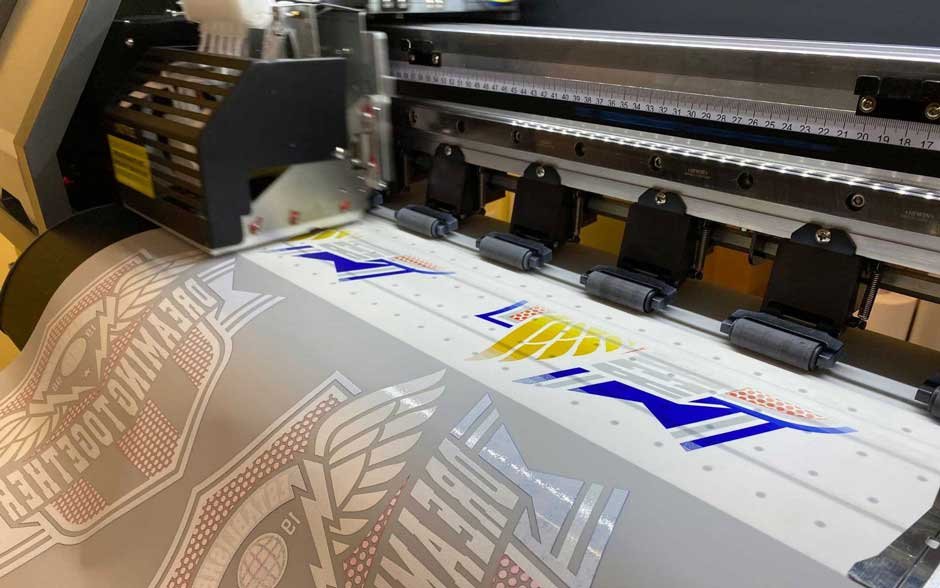
Direct-to-film (DTF) printing is revolutionizing the textile industry. It’s a game-changer for businesses and hobbyists alike, offering vibrant, durable prints on a variety of fabrics. Whether you’re new to this method or looking to refine your skills, this step-by-step tutorial will guide you through the entire DTF printing process. From understanding the basics to achieving the best results, let’s dive into the world of DTF printing.
Understanding Direct-to-Film (DTF) Printing
DTF printing involves printing designs onto a special film, which is then transferred onto the fabric using a heat press. Unlike traditional methods like screen printing or Direct-to-Garment (DTG), DTF printing offers more flexibility. You can print on almost any type of fabric, from cotton to polyester to blends, without worrying about color limitations or fabric composition.
One of the main advantages of DTF printing is its ability to produce high-quality, detailed prints. The colors are vibrant, and the prints are durable, making them perfect for custom t-shirts, hoodies, bags, and more. Moreover, the process is relatively simple and doesn’t require extensive setup or cleanup.
Essential Equipment and Materials
Before you start printing, you’ll need to gather the necessary equipment and materials. Here’s a list to get you started:
Equipment:
- DTF Printer: Popular models include the R2 DTF printer , the Epson L1800, and the Prestige A3+ DTF printer.
- Heat Press: A reliable heat press machine is essential for transferring the print onto the fabric. Brands like PowerPress and Hix offer good options.
- Film Sheets: Special DTF film sheets designed to hold the ink and release it during the heat transfer process.
- Powder Adhesive: This powder helps the ink adhere to the fabric.
Materials:
- Fabrics: Various types of fabrics including cotton, polyester, and blends.
- Inks: Pigment inks specifically designed for DTF printing.
Optional but Helpful:
- Software: Design software like Adobe Illustrator or CorelDRAW for preparing your artwork.
Preparing the Artwork
Creating the right design is crucial for a successful print. Here are some guidelines to help you prepare your artwork:
- Resolution: Ensure your design is high resolution (at least 300 DPI) to avoid pixelation.
- Colors: Use vibrant colors that will stand out on your chosen fabric. DTF printing handles colors well, so don’t be afraid to go bold.
- Design Software: Use professional design software like Adobe Illustrator, CorelDRAW, or even Photoshop to create or edit your designs. These programs offer tools to fine-tune your artwork for the best print quality.
Once your design is ready, save it in a compatible format (such as PNG or TIFF) with a transparent background to ensure the edges of your design blend seamlessly with the fabric.
Printing the Design on the Film
Now that your design is ready, it’s time to print it onto the film. Follow these steps to ensure a smooth printing process:
Setting Up the Printer
- Load the Film: Place the DTF film sheet into your printer, ensuring it’s properly aligned.
- Printer Settings: Adjust the printer settings based on the type of film and ink you’re using. For instance, the R2 DTF printer has specific settings for different film types.
- Print the Design: Send your design to the printer and start the printing process. Ensure that the ink coverage is even and the colors are accurate.
Troubleshooting Common Issues
- Ink Smudging: Ensure the film is completely dry before handling it.
- Color Discrepancies: Check your color settings and profiles in the design software and printer.
- Film Alignment: Make sure the film is correctly aligned to avoid misprints.
Transferring the Print to Fabric
With your design printed on the film, the next step is transferring it to the fabric. Here’s how to do it:
Pre-treatment of Fabrics
- Clean the Fabric: Ensure the fabric is clean and free of any dirt or oils.
- Pre-press the Fabric: Use the heat press to pre-press the fabric for a few seconds. This removes any moisture and flattens the surface.
Using a Heat Press
- Temperature and Pressure Settings: Set your heat press to the recommended temperature and pressure settings. Typically, this is around 160-170°C (320-338°F) and medium pressure.
- Place the Film: Position the film on the fabric with the printed side facing down.
- Apply Powder Adhesive: Sprinkle the powder adhesive evenly over the design. This step is crucial for ensuring the print adheres properly to the fabric.
- Transfer the Design: Press the fabric and film together using the heat press. Hold for 15-20 seconds, depending on the fabric type and ink.
Post-transfer Care
- Peel the Film: Once the press time is up, carefully peel the film off the fabric. Do this while the film is still warm for the best results.
- Cure the Print: To ensure durability, you might need to cure the print with a secondary heat press or an oven for a few minutes.
Tips for Achieving the Best Results
Here are some tips to help you achieve professional-quality prints:
Avoid Common Mistakes
- Overloading Ink: Avoid using too much ink as it can cause smudging and uneven prints.
- Incorrect Temperature: Ensure your heat press is set to the correct temperature for the fabric and ink.
- Skipping Pre-treatment: Always pre-treat your fabrics to remove moisture and ensure a smooth surface.
Vibrant Colors and Long-lasting Prints
- Use High-Quality Inks: Invest in high-quality pigment inks specifically designed for DTF printing.
- Proper Adhesive Application: Ensure the powder adhesive is evenly applied to avoid patchy prints.
- Regular Maintenance: Keep your printer and heat press in good condition by regularly cleaning and servicing them.
Conclusion
DTF printing is a versatile and accessible method for creating high-quality prints on various fabrics. By following this step-by-step tutorial, you can start producing vibrant, durable prints for your projects. Remember to experiment, practice, and refine your technique to achieve the best results.


