
Are you feeling curious about the world of tie dyeing? Maybe you’re unsure if acrylic paint is the right choice for your project. You do not have to worry because acrylic paint works just fine with tie-dye. Here’s how to tie dye with acrylic paint;
To tie-dye with acrylic paint, create your desired pattern/design on your fabric with rubber bands. Next, you will need to mix acrylic paint with a textile medium or water in a squeeze bottle, then apply it to your wet fabric. Allow it to dry for 8-24 hours . You can also heat-set the fabric with an iron or in the dryer to make it permanent( optional) . Lastly, wash your fabric in cold water to prevent fading. Enjoy your unique colorful tie-dye creation!
But, that is not all. In this blogpost, I’ll explore the materials you’ll need, show you how to care for your tie-dye , guide you in detailed steps through the process and reveal some insider tips and tricks for creating your very own unique designs . So, let’s dive in and unleash your inner artist!
Related Reading: 10 Tie Dye Patterns You Can Make at Home
What Does Tie Dye Mean?
Tie dye is a type of fabric dyeing technique that involves twisting, folding, and tying the fabric with rubber bands or string before applying dye or acrylic paint to create unique patterns and designs. The tied areas resist the dye, resulting in a colorful and distinctive pattern that can range from simple swirls to complex designs. Tie dyeing originated in ancient cultures but gained popularity in the 1960s during the hippie movement. Today, tie dyeing remains a popular DIY activity and a fun way to create vibrant and personalized designs. If you do not know what acrylic paints are, check out this article before proceeding?
What Do You Need to Tie Dye With Acrylic Paint?
To tie dye any fabric with acrylic paint, you will need the following materials:
- Acrylic paint: You should choose a variety of colors to achieve the desired effect.
- Your Fabric of choice: You can use any natural fiber fabric such as cotton, linen, or rayon will work best.
- Soda Ash: It is not a must to use soda ash but you can get it on Amazon if you prefer to use it. Soda ash will make the dye stick better.
- Water: Water is a must as it helps to dilute the acrylic paint. Use room temperature water.
- Plastic squeeze bottles: These will be used to apply the paint mixture to the fabric. You can use old bottles at home or order online via Amazon
- Wire Rank: Again, this is optional too.
- Spray bottle/sponge/brush for application
- Rubber bands: These are used to create the tied patterns.
- Gloves: Wear gloves to protect your hands from the paint.
- Plastic wraps: Use plastic wrap to wrap the fabric after applying the paint mixture to let it sit for a few hours to overnight. Recommended time is 24 hours.
- Protective coverings: Lastly, you can use a newspaper or plastic coverings to protect your work surface.
- With these materials and some creativity, you’ll be able to create your own unique tie dye designs using acrylic paint.
Achieving the Perfect Ratio Consistency: Mixing Water and Acrylic Paint for Tie Dyeing
While the mixing ratio of acrylic paint and water for tie dyeing can vary depending on personal preference and the desired effect, a common recommended ratio is 2:1. This means that for every 2 parts of acrylic paint, you add 1 part of water to create a paint mixture that has a thin consistency that is easy to apply to the fabric.
Keep in mind that different brands and types of acrylic paint may bleed differently. Some artists may prefer to use a different ratio or mix paint and water separately before combining them to achieve the desired consistency.
Importantly, the best way to determine the right water-to-paint ratio for tie dyeing with acrylic paint is through practice, taking into consideration the desired effect, the type of fabric being used, and personal preference.
Recommended Article: Can You Add Water to Acrylic Paint?
How to Tie Dye Your Clothing with Acrylic Paint?

Step 1: Prep your workspace: Cover your work surface with protective coverings such as newspaper or plastic to protect it from any potential acrylic paint spills or stains.
Step 2: Mix the acrylic paint and water: In a plastic squeeze bottle, mix the acrylic paint and water in a 2:1 ratio. Shake the bottle well to ensure the paint and water are fully combined. You can also add a little bit of glycerine to prevent it from cracking or flaking off over time. Glycerine is thicker and has moisturizing and lubricating properties. When added to acrylic paint, it can help to make the paint mixture more flexible and pliable, allowing it to better adhere to the fabric
Step 3: Pre-wash the fabric: Wash and dry the fabric to remove any dirt or sizing that could interfere with the dye absorption. Once the fabric is 70 % dry, lay it flat on your work surface and smooth out any wrinkles. The more damp the fabric is, the better tie dye solution.
Step 4: Create the tie-dye pattern: Next, use rubber bands to tie the fabric in your desired pattern. You can create various patterns by twisting, folding, or scrunching the fabric before tying it. The tied areas will resist the dye, resulting in unique patterns and designs.
Step 5: Apply the acrylic paint mixture: This is a critical step so read carefully. Put on gloves to protect your hands from the paint. Spray the paint mixture onto the tied fabric. To test paint consistency, start by spraying smaller portions of the mixture and observe, if it too dilute, add more acrylic paint to the solution to thicken it. If it is too thick, add water to dilute it. To create more designs, you can mix different colors and spray onto the fabrics. Some people love one color while others prefer variety. Make sure to apply enough paint to saturate the fabric.
Step 6: Wrap the fabric in plastic: Wrap the fabric in plastic wrap to keep it moist and allow the paint to set. Keep it wrapped for about 8-24 hours.
Step 7: Rinse and dry the fabric: Rinse the fabric under cool water( not hot/warm water) to remove any excess paint. Then, wash the fabric in the washing machine on a gentle cycle with mild detergent. Finally, dry the fabric in a dryer or hang dry.
Step 8: Enjoy your tie-dye creation!: Once the fabric is dry , admire your unique and colorful creation! There you have it.
Side Note: Tie-dyeing with acrylic paint is a fun and creative way to add some color and personality to your clothing or fabrics. With these simple steps and some experimentation, you can create your own unique designs and fashion statements.
How to Dye Fabric with Acrylic Paint without Water or Medium?

Here’s how to dye fabric with acrylic paint without using water or a medium:
- Choose the fabric you want to dye and make sure it’s clean and dry.
- Select your acrylic paint colors and get a brush or sponge that you will use to apply the paint onto the fabric.
- Begin applying the paint directly onto the fabric using the brush or sponge. Start with thin layers, working in one direction and blending as you go. Do not apply too much paint in one area as this can cause the paint to crack or peel over time.
- Continue adding thin layers of paint until you achieve your desired color intensity. In this step, please be sure the paint is evenly distributed and there are no areas that are too thick or too thin.
- Allow the fabric to dry completely. Drying can happen between a few hours to overnight, depending on the temperature and humidity in your environment.
- Once the fabric is completely dry, the paint will have penetrated the fibers and should be relatively permanent.
It’s important to note that this method may not produce as vibrant or even a color as using water or a medium, and the paint may crack or peel over time. So, avoid washing the fabric too often or using harsh detergents. And, there you have it! With these steps, you can dye fabric with acrylic paint without using water or a medium. While it may not produce the most vibrant or long-lasting results, it’s a fun and creative way to add some color and personality to your fabrics.
How To Wash Your Tie-Dye Shirt for the First Time?
There are many ways you can use wash off acrylic paints or tie dyes . Here are the two common ways;
1)Vinegar Soak
- The first step is to soak your tie-dye shirt in a solution of cool water and white vinegar. This helps to set the dye and prevent it from bleeding or fading during subsequent washes.
- Fill up a basin or sink with cool water and add one cup of white vinegar.
- Mix the solution well and add your tie-dye shirt, making sure it is completely submerged.
- Leave it to soak in the vinegar solution for 20- 30 minutes, then rinse it thoroughly with cool water until water runs clear.
- Next gently squeeze out the excess water from the shirt, but avoid wringing it.
2)Synthrapol Wash
You can also wash your tie-dye shirt with a special detergent called Synthrapol. Synthrapol is designed to remove excess dye and other impurities from fabric, which helps to prevent color bleeding and fading.
- Fill a basin or sink with cool water and add a small amount of Synthrapol detergent, following the manufacturer’s instructions.
- Add your tie-dye shirt to the solution and let it soak for about 15 minutes.
- Gently agitate the shirt in the solution, then rinse it thoroughly with cool water until the water runs clear.
- Squeeze out the excess water and proceed to the next step.
Do Tie Dye Shirts Eventually Lose Their Color?
Tie-dye shirts will eventually lose their color over time, especially if they are exposed to sunlight or washed frequently. This is because tie-dyeing involves applying dye or paint onto the fabric. The end result can be a fade or washed out product, especially if the fabric is not properly pre-treated or cared for. To help you preserve the color and beauty of your tie-dye shirts, it’s important to follow some basic care instructions listed below;
How to Care for Your Tie Dye?
Your tie dye deserves to be treated with love and care. Here are tips to keep your tie dye looking vibrant and beautiful:
- Wash your tie dye separately: To prevent bleeding or fading, it’s important to wash your tie dye separately from other clothes. You don’t want your beautiful tie dye to accidentally dye your other clothes.
- Use cold water: Hot water can cause the dye to fade or bleed. So, always wash your tie dye in cold water. The colder the water, the way better.
- Use gentle detergent: Harsh detergents can damage the fabric and cause the dye to fade. So, use a gentle detergent that’s specifically designed for delicate fabrics.
- Don’t dry in direct sunlight: The sun’s UV rays can cause the dye to fade over time. So, avoid drying your tie dye in direct sunlight. Instead, hang it up in a shady spot or dry it indoors.
- Avoid using bleach: Bleach can damage the fabric and cause the dye to fade. So, avoid using bleach when washing your tie dye.
- Don’t over-wash: Over-washing can cause the dye to fade over time. So, try not to wash your tie dye too often. When you do wash it, spot clean as much as possible.
- Handle with care: Your tie dye is delicate, so handle it with care. Avoid rubbing or wringing it too hard. Instead, gently squeeze out any excess water and hang it up to dry.
Remember, your tie dye is a unique and beautiful expression of your creativity. With extra care, it will last for years
Tie-Dye Patterns and Folding Techniques

Tie-dye is all about creativity, and there are countless ways to create stunning and unique patterns on your fabric. Let me share with you some of my best tie-dye patterns and folding techniques to try:
- Spiral: The spiral pattern is a simple yet classic tie-dye look that is easy to achieve by simply twisting your fabric into a spiral shape and tying it off with rubber bands.
- Crumple: For a more organic, abstract look, crumpling your fabric and securing it with rubber bands is a great technique.
- Stripes: Achieve a more structured, geometric look with stripes. Simply fold your fabric in a accordion style and then tie with rubber bands in even intervals.
- Bullseye: Create a mesmerizing bullseye pattern by folding your fabric in half, then quarters, then eighths, and finally, securing the center with a rubber band.
- Mandala: The intricate and beautiful mandala pattern can be achieved by folding your fabric into small triangles and securing them with rubber bands.
Can You Use Acrylic Paint to Tie Dye on Pillow Cases?
While it is not recommended to use acrylic paint to tie-dye bed sheets or duvets, you can still use it to tie-dye pillowcases. Here’s how you can tie-dye pillowcases using acrylic paint:
- Get your items ready: You will need a plain white pillowcase, acrylic paint in your desired colors, fabric medium (optional), rubber bands, a plastic sheet, and a bowl.
- Mix your acrylic paint solution: If you’re using fabric medium, mix it with your acrylic paint in a bowl. If not, you can use acrylic paint straight from the tube.
- Wet your pillowcase: Dampen your pillowcase with water and wring out any excess water. Lay it flat on a plastic sheet.
- Create a tie-dye pattern of your choice: Use rubber bands to create your desired tie-dye pattern on the pillowcase. The easiest patterns are crumpling the fabric or creating spiral patterns.
- Now, apply the paint: Use a paintbrush or spray bottle to apply the acrylic paint to the pillowcase, make sure to saturate the fabric completely. You can use different colors to create a multicolored effect.
- Let the paint dry: Once you’ve applied the paint, let the pillowcase dry completely. This may take8-24 hours, depending on the humidity and temperature in your area.
- Heat-set the paint: Once the paint is dry, heat-set it to ensure that the colors will not wash out. You can do this by placing a cloth over the pillowcase and ironing it on high heat for several minutes.
- Rinse and wash the pillowcase: After heat-setting the paint, rinse the pillowcase with cool water to remove any excess paint. Then, wash the pillowcase with mild detergent in cool water and dry it .
By following these steps, you can create a unique and colorful tie-dye pillowcase using acrylic paint.
What Is the Best Fabric to Use for Tie-Dyeing Process?
Cotton 100%. Cotton by far is the best fabric material because of its good color absorption. Other fabric materials such as hemp, polyester and nylon will not 100% absorb the acrylic paint. So it is advisable to always work with cotton if you want your tie dyes to come out beautiful and good.
Best acrylic paint for Tie Dying
When it comes to tie-dyeing with acrylic paint, right acrylic paint can make all the difference in achieving vibrant and long-lasting tie dyes. Here are some of the best acrylic paint that I have personally used;

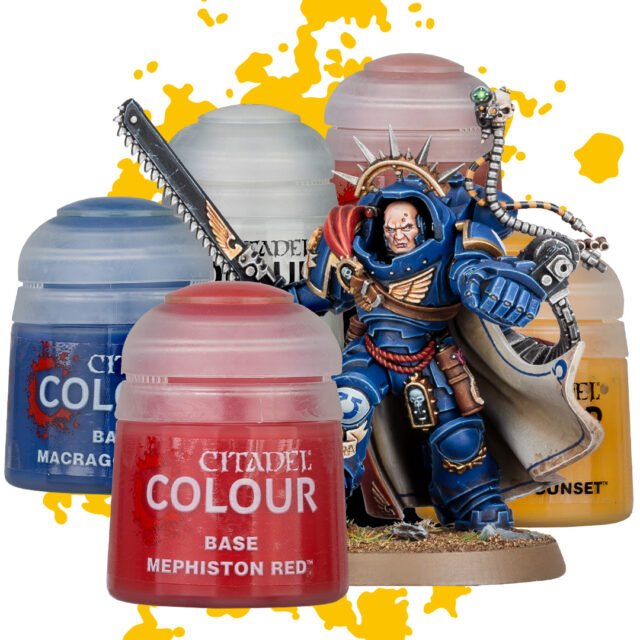
Liquitex BASICS Acrylic Paint
Liquitex BASICS Acrylic Paint is a versatile and affordable option for tie dyeing projects. Its vibrant colors and permanent finish make it a great choice for adding a pop of color to any fabric.

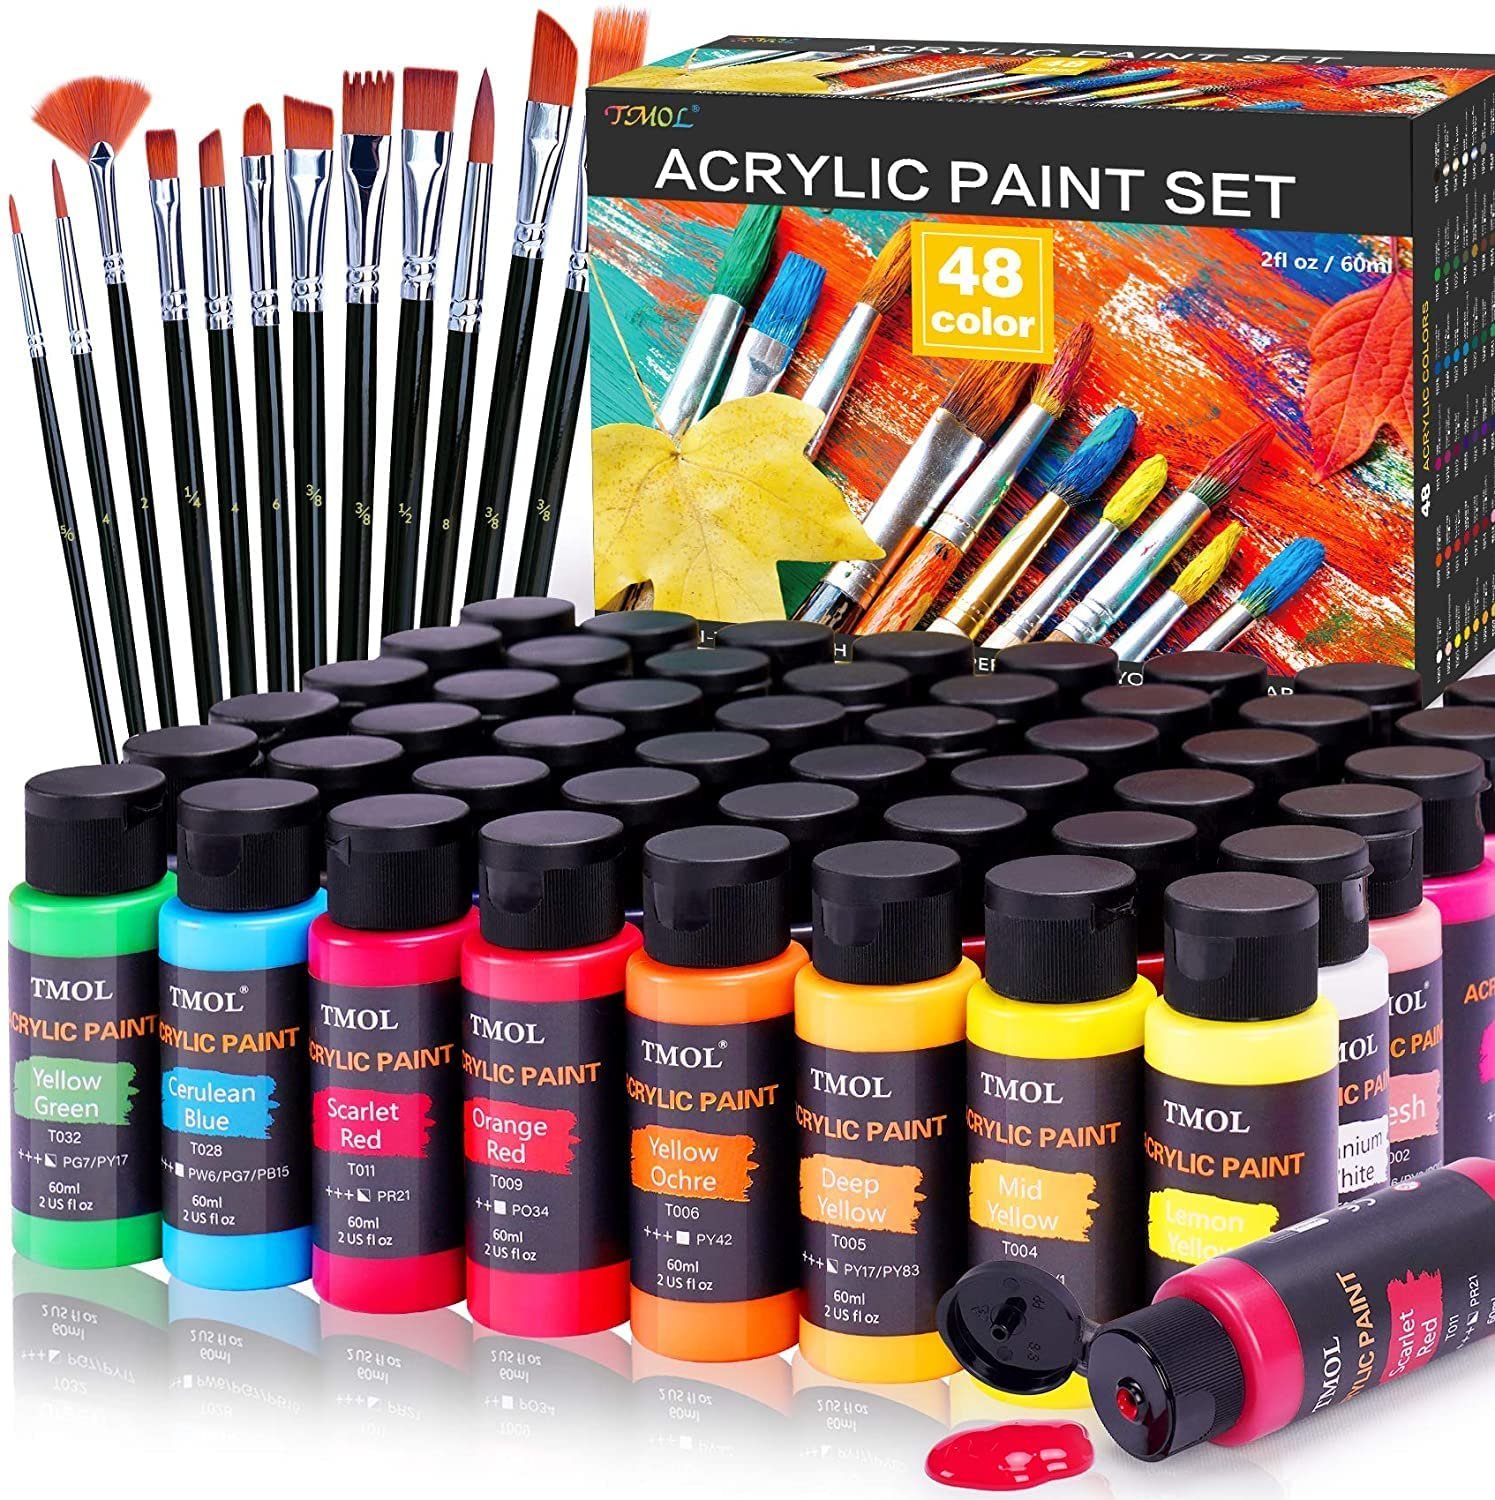
Acrylic Paint Set, 48 Colors (2 oz/Bottle) with 12 Art Brushes
Available in a wide variety of colors, so you can create a custom tie-dye design that perfectly matches your personal style.

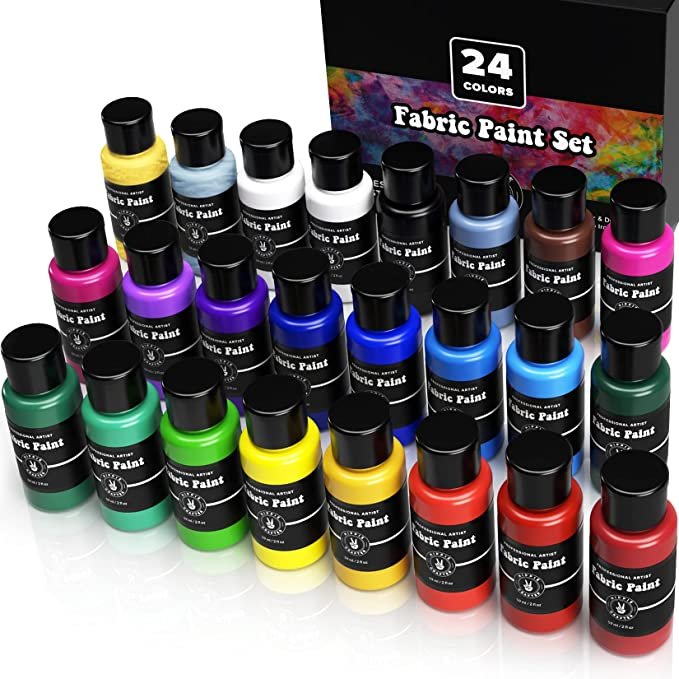
Permanent Fabric Paint for Clothes 24 Colors Bulk Kit Fabric Paint
Easy to apply with a paintbrush or sponge, making it a great option for beginners or those who are new to tie-dyeing.

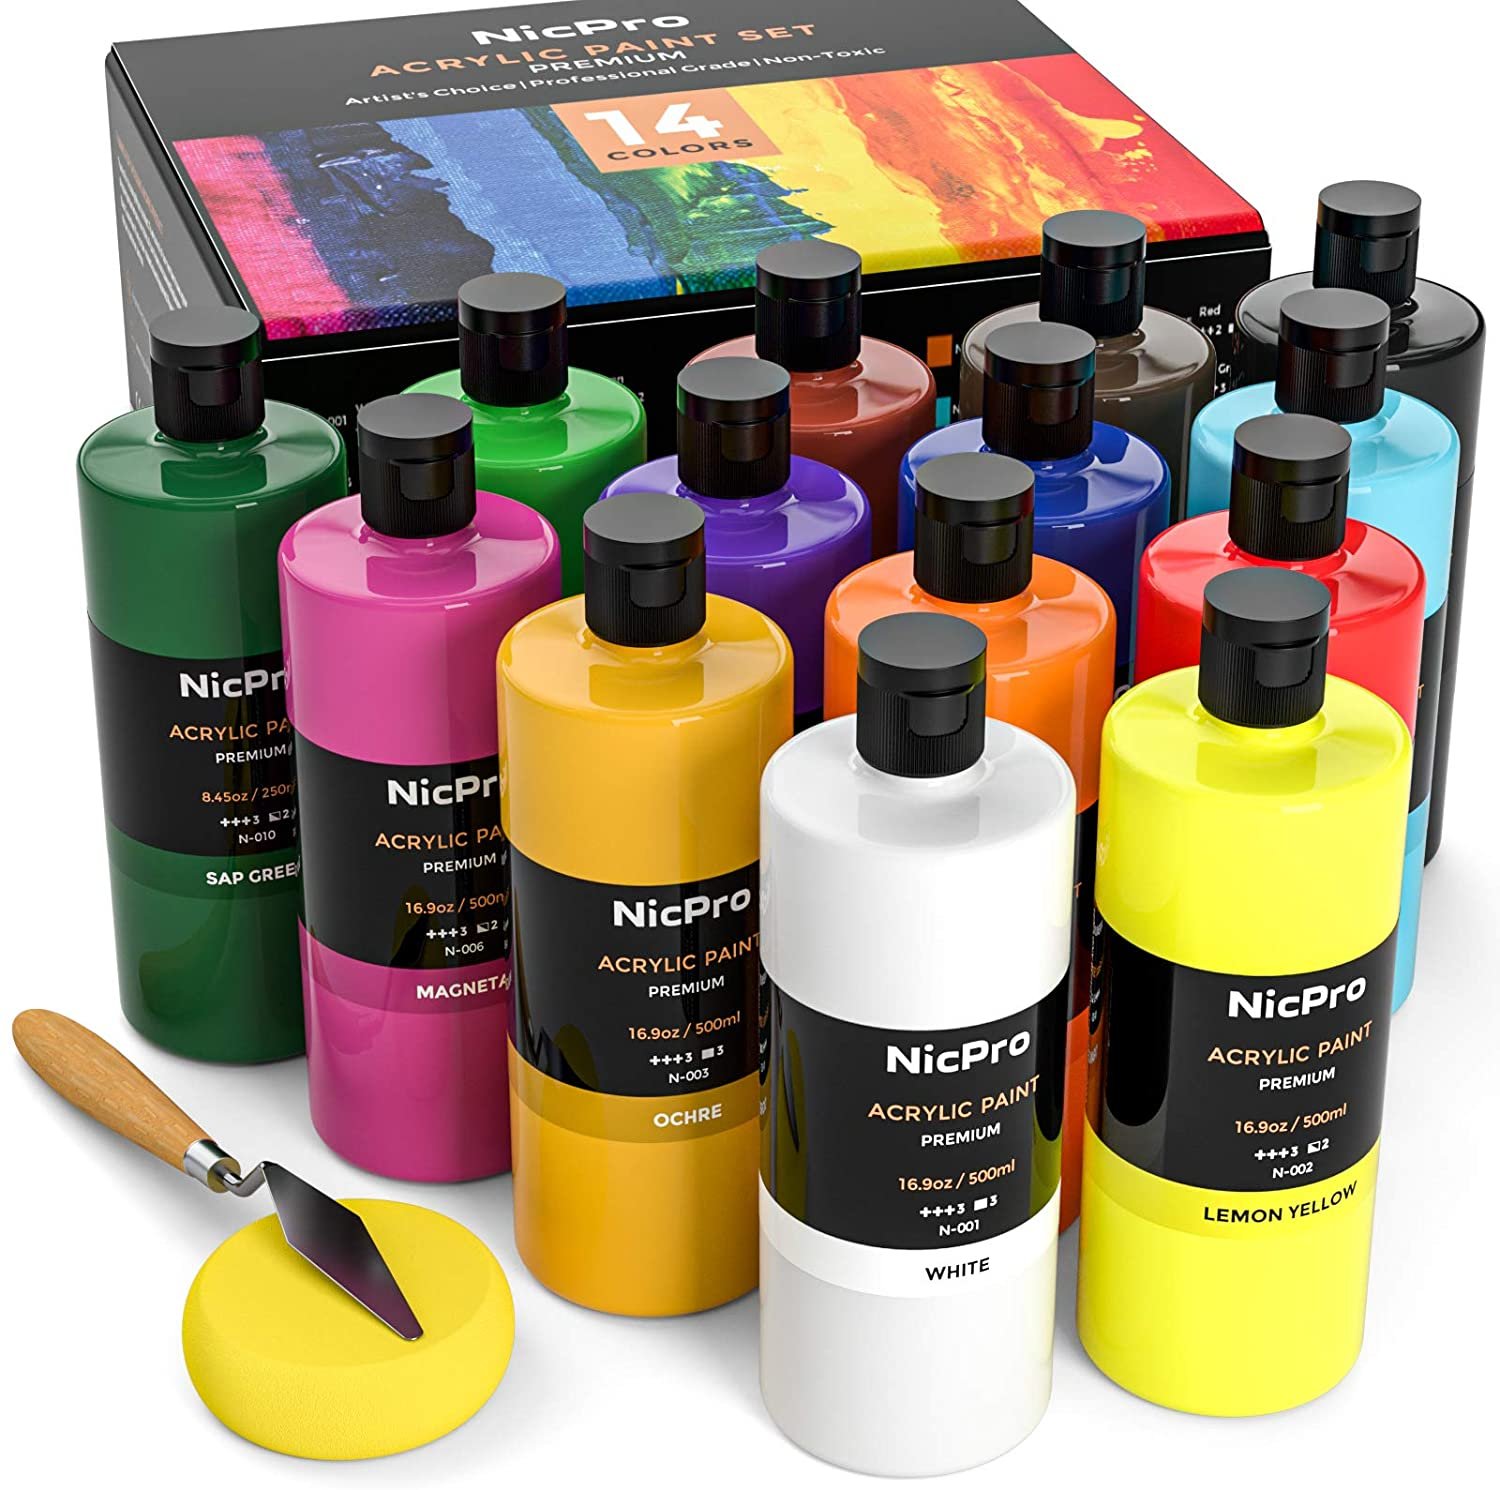
Nicpro 14 Colors Large Bulk Acrylic Paint Set (16.9 oz,500 ml)
Nicpro can be used on a variety of surfaces, including pillowcases, canvas bags, t-shirts, and more, making it a versatile material for tie-dyeing.

Do You Wash Tie-Dye in Warm or Cold?
Cold water is typically used in washing tie-dye because hot water can cause the dye to bleed or fade. For instance, when fabric is washed in hot water, the fibers can expand and open up, allowing the dye molecules to escape from the fabric. This can cause the dye to bleed onto other areas of the fabric, resulting in a less defined and less vibrant tie-dye pattern.
Cold water also helps to set the dye by closing the fibers of the fabric, trapping the dye molecules inside. This further helps to preserve the tie-dye pattern and keep the colors vibrant.
There is an exception and when you can/should use hot water particularly if the dye is not completely set or if the fabric is particularly dirty. However, for most tie-dye projects, it is best to use cold water to preserve the pattern and keep the colors looking vibrant.
Frequently Asked Questions
What type of acrylic paint should i use for tie-dye?
Acrylic paint is safe for use on clothing as it is non-toxic and water-based.
Do You Tie Dye When Wet or Dry?
Tie-dyeing works perfect when the fabric is wet as it allows the dye to penetrate more deeply into the fibers. This is because wet fabric also makes it easier to manipulate and tie into patterns.
Can I Dye My Clothes With Acrylic Paint?
Absolutely. You can use tie dye on any cloth. Just follow the instructions I’ve listed above.
Takeaway
I want to conclude by saying – tie-dyeing with acrylic paint is a thrilling and delightful experience that brings out your inner artist while allowing you to express yourself in a fun and colorful way.
The whole process is exciting- From choosing the colors and patterns, the joy of seeing the paint merge together and create beautiful designs, and the satisfaction of wearing or displaying your finished masterpiece .
All these make tie-dyeing with acrylic paint a truly rewarding and fulfilling activity. So, indulge into the world of tie-dyeing with acrylic paint and let your imagination soar as you create your own unique and vibrant fabric art!
SOURCES