
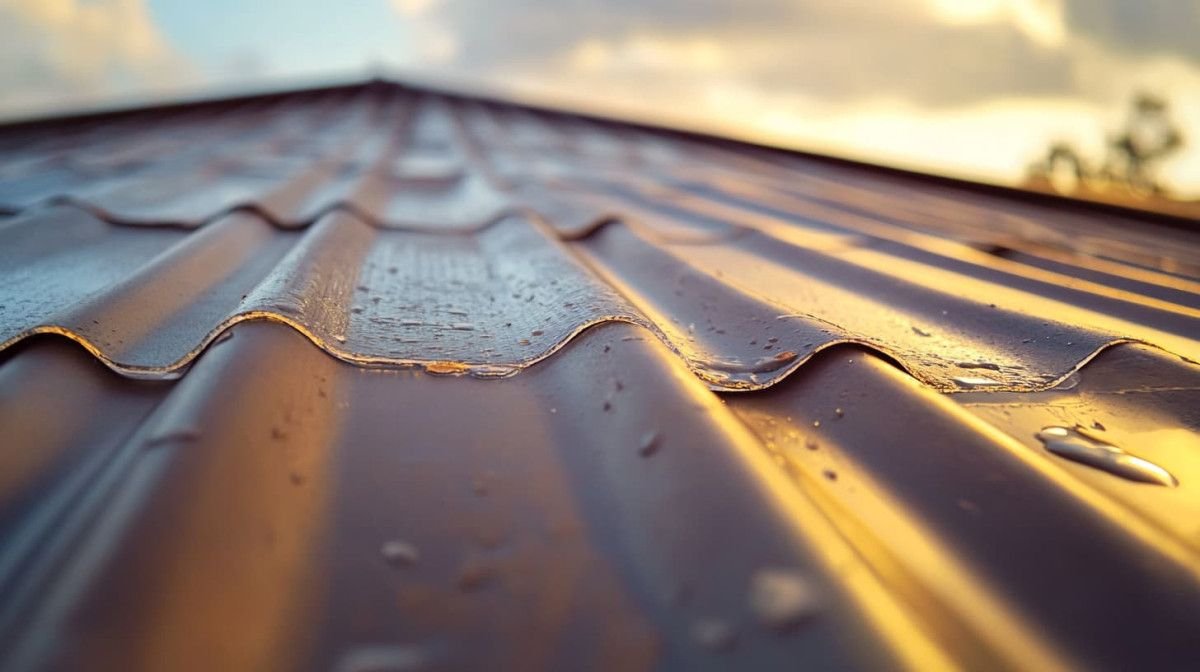
Finding a leak in a metal roof is fundamentally different from finding a leak in an asphalt shingle roof. On a shingle roof, water runs downhill in a straight line and the leak is usually directly above the interior water stain. On a metal roof, water can travel sideways along a seam, run horizontally across a panel rib, or enter at a fastener 20 feet uphill from where it drips through the ceiling. The leak in the ceiling and the hole in the roof are rarely in the same ZIP code.
The most effective way to find a metal roof leak is a two-person water test: one person on the roof with a garden hose, starting at the lowest point and working uphill one section at a time, and one person in the attic with a flashlight watching for water. It is slow, methodical, and virtually guaranteed to find the leak. Every other method — visual inspection, chalk tracing, moisture meter — is faster but less conclusive.
Where Metal Roofs Leak: The Five Most Common Failure Points
Before you climb onto the roof, know what you are looking for. Metal roofs do not leak randomly in the middle of a panel. They leak at specific, predictable locations, and knowing those locations narrows the search to a few square feet.
| Leak Source | Roof Type | Typical Cause | Frequency |
| Exposed fasteners | Exposed-fastener (corrugated, R-panel) | Neoprene washer degradation, screw backout from thermal cycling | Most common |
| Seam separation | Standing seam (snap-lock) | Thermal expansion/contraction unseating the snap-lock | Second most common |
| Penetration flashing | All types | Failed pipe boot, deteriorated sealant around vent, cracked rubber collar | Third most common |
| Transition flashing | All types | Wall-to-roof step flashing, chimney flashing, valley-to-wall junction | Common on older roofs |
| End lap / panel overlap | All types | Insufficient overlap, missing sealant, ice damming at lap | Common on low-slope |
On an exposed-fastener metal roof — the type with visible screw heads running in rows across the panels — roughly 80% of leaks trace to a failed fastener. The neoprene washer under the screw head cracks from UV exposure and thermal cycling after 10 to 15 years, and water seeps down the screw shaft into the roof deck. The fastener itself looks intact from the ground. The washer is the failure point.
On a standing seam metal roof with hidden fasteners, the seams between panels are the failure point. Standing seam panels expand and contract with temperature — steel moves roughly 1/16 inch per 10 feet of panel length per 100°F temperature change — and snap-lock seams that do not allow enough movement can unseat themselves. The panel looks fine from the ground, but the seam has opened just enough for wind-driven rain to blow through.
The Two-Person Water Test: The Gold Standard for Finding Metal Roof Leaks
This method requires two people, a garden hose, a cell phone for communication, and about an hour. It is the technique that professional roofing contractors use when a leak is too subtle to find by visual inspection alone.
- Start in the attic or interior at the leak location. One person positions themselves at the interior water stain with a bright flashlight. Remove any insulation from around the roof deck in that area so you can see the underside of the decking. If the attic is finished and the leak is behind drywall, cut a small inspection hole — you are patching drywall anyway to fix the stain.
- The second person goes onto the roof with a garden hose. Start at the lowest point of the roof directly below the interior stain — not at the stain itself. The hole in the membrane is almost always uphill from the interior water. Begin soaking a 3-by-3-foot section at the lowest point for 5 full minutes. Metal roof leaks are slow; a pinhole takes several minutes of continuous water to produce a visible drip inside.
- If no water appears after 5 minutes, move the hose uphill by one panel width or roughly 3 feet. Soak the next section for 5 minutes. Repeat this process, moving uphill in 3-foot increments, until water appears at the interior observation point. When it does, the leak is in the section you are currently soaking — not in the section you soaked 5 minutes ago.
- Narrow the search within that section. Once you have identified the general panel or seam, direct the hose to specific features one at a time: first the seam, then each fastener, then the panel-to-flashing junction. Soak each feature for 5 minutes. When water appears, mark the exact spot with a piece of blue painter’s tape. Do not use chalk — it will wash off the metal surface.
- Mark the leak location on both the roof and the interior deck. On the roof, circle the leak with a grease pencil or permanent marker on the metal. In the attic, drive a finishing nail up through the deck directly at the leak point so the roofer can find it from above.
The 5-minute rule is not optional. Metal roof leaks are slow. A pinhole in a seam takes 3 to 5 minutes of continuous water to saturate the underlayment, penetrate the deck, and produce a visible drip at the ceiling. Moving the hose too fast produces false negatives — you skip past the leak because the water did not have time to travel through the roof assembly.
Visual Inspection: What to Look for from the Ground and on the Roof
Before the water test, a thorough visual inspection often finds the leak without getting the roof wet. The evidence is visible if you know what to look for.
From the ground with binoculars: Walk around the house and scan each roof face. Look for missing or backed-out screws (the washer will be visibly lifted above the panel surface), rust streaks running down from a specific fastener or seam, missing or lifted ridge caps, and gaps at the transition between the metal roof and a chimney or wall. A rust streak is a water path — it tells you where water has been flowing, and the point where the rust starts is the leak source.
In the attic: Water stains on the underside of the roof deck are darker when they are fresh and lighter when they are old. A single dark stain with concentric rings indicates a leak that has been active for months or years. Multiple stains in a line following a seam or a row of fasteners indicate a systemic problem — not one failed screw, but a row of them. Look also for daylight visible through fastener holes or seams. If you can see light, water can get in.
On the roof surface: Walk the roof (with proper fall protection) and inspect every fastener, every seam, and every penetration. Press your thumb against each neoprene washer — if it feels hard and brittle rather than pliable, it has failed even if it looks intact. Check the sealant at every flashing transition — if the sealant has pulled away from the metal on one side, water is entering the gap. Look for panel oil-canning (visible waves or dents in the flat of the panel) — an oil-canned panel has stretched and its seams may have opened.
Leak Patterns by Metal Roof Type
| Roof Type | #1 Leak Source | #2 Leak Source | #3 Leak Source |
| Exposed-Fastener (Corrugated / R-Panel) | Fastener washers (80% of leaks) | End laps (panel overlaps) | Ridge cap flashings |
| Standing Seam (Snap-Lock) | Seam separation from thermal movement | Penetration flashings (pipe boots) | Transition flashings (wall, chimney) |
| Standing Seam (Mechanical Seam) | Penetration flashings | End closures at eave/ridge | Transition flashings |
| Metal Shingle / Tile | Interlocking joint failures | Valley flashings | Penetration flashings |
The distinction between snap-lock and mechanical-seam standing seam matters for leak diagnosis. A snap-lock seam relies on the spring tension of the metal to hold the panels together. A mechanical-seam roof uses a seaming machine that folds the two panel edges together into a locked joint that cannot separate without being physically unfolded. Mechanical-seam roofs almost never leak at the seams. When they leak, the cause is almost always a penetration flashing or a transition detail. If your standing seam roof is leaking at the seams, it is almost certainly a snap-lock roof.
How to Prevent Metal Roof Leaks After Finding and Fixing Them
Fixing the current leak is step one. Preventing the next set of leaks is step two, and it involves addressing the root causes that produced the first leak.
- Replace all neoprene washers at once, not just the failed ones. If one washer on a roof face has cracked from UV exposure, every washer of the same age on that roof face is approaching the same failure. Replacing the washers as a set costs $300 to $600 and prevents five future service calls.
- Inspect seam sealant at every penetration and transition annually. The sealant at pipe boots, wall flashings, and chimney flashings has a shorter service life than the metal panels. Inspecting and re-sealing costs $100 to $200 per year and extends the roof’s life by 5 to 10 years.
- Clear debris from valleys and behind chimneys every fall. Wet leaves against a metal panel edge create a localized corrosion cell that eats through the paint and eventually the metal substrate. A leaf blower from a ladder takes 15 minutes and costs nothing.
- Check fasteners on an exposed-fastener roof every 5 to 7 years. Thermal cycling loosens screws. Tighten loose screws and replace washers with visible cracking. Do not overtighten — a stripped screw in a metal panel is a new leak that you created while trying to prevent one.
FAQ: Common Questions About Metal Roof Leaks
How far can water travel under a metal roof before it drips inside?
Water can travel 20 to 30 feet along a seam, a panel rib, or the top of the underlayment before finding a penetration in the deck — a fastener hole, a joint in the plywood, or an electric cable penetration. The interior water stain is often directly below a deck penetration, not directly below the hole in the metal. This is why the water test starts at the bottom and works uphill — the leak source is almost always higher on the roof than the interior stain.
Can I use silicone caulk to fix a metal roof leak?
Yes, as a temporary repair only. A bead of high-quality exterior silicone or urethane sealant applied to a leaking fastener head or a small seam gap will stop the leak for 1 to 3 years. It is not a permanent fix. The proper permanent repair for a leaking fastener is to replace the screw and washer. The proper repair for a leaking seam is to clean the seam, apply butyl seam tape, and re-secure the seam. Silicone is a bridge to the permanent repair, not the repair itself.
Is it a leak or condensation?
Condensation on the underside of a metal roof looks like uniform water droplets or frost spread across a wide area of the deck, not a localized drip. It occurs when warm, moist interior air contacts the cold metal deck — most commonly in unheated attics in early spring. A leak produces a concentrated drip at a specific location. Condensation produces widespread light moisture. If the water appears on sunny days after a cold night and no rain has fallen, it is condensation, not a leak. The fix is ventilation, not roofing.
Metal Roof Leaks Are Predictable — Find the Pattern, Find the Leak
A metal roof leaks at the fasteners, the seams, or the flashings. It does not leak in the middle of a panel unless the panel has a puncture, which is visible and obvious. The two-person water test — starting at the bottom, working uphill, soaking each section for 5 full minutes — will find the leak every time. The visual inspection with binoculars from the ground will find it most of the time.
The most important rule for metal roof leak diagnostics is this: the hole in the metal is uphill from the water stain on the ceiling. If you search at the stain location, you will not find the leak. If you search uphill from the stain, section by section, you will.